Showing posts with label paint. Show all posts

Friday, July 1, 2022

Making a Mini House Diorama with Cardboard, Paint, and Sculpey

In my day job, I work with a lot of specialized archival cardboard, called blueboard. We end up with lots of scraps so I brought some home, along with a scrap of foam board, and made a little house. 
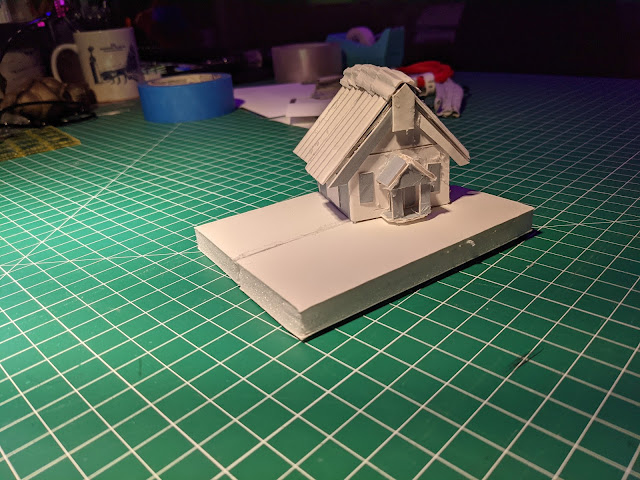

I opened up the blueboard to reveal the corrugation to make the "tin" roof. 


I had no plan. I just started making. Every day I came home from work and added this, and painted that, and plastered here, and sculpted there. 

I used DAP compound to give the house a stucco texture and for the texture of the ground. 


I painted everything using Folk Art Paints.  
I made a fence out of wood skewers.
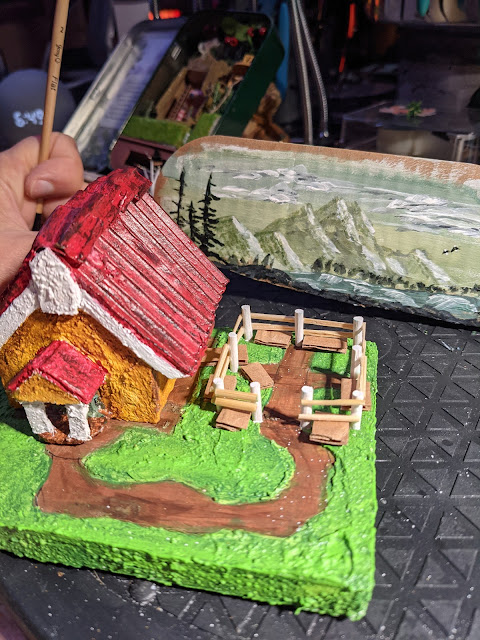
I used my Easy Cutter to slice the skewers length wise to make the horizontal slats. Above they are being held up with cardboard while the glue dries. 
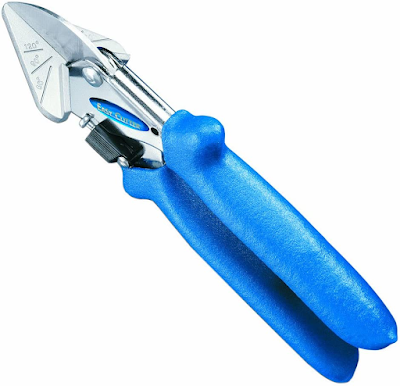
Craft Easy cutter
I love this Easy Cutter. Great for making angled cuts on small pieces of wood, plastic, cardboard, etc. 


Then, I had a packaging box at home that had a curved edge, and it felt like it would be a good landscape backdrop for my house. 


I channeled Bob Ross for sure. 

I painted my fence white. 


Then sculpey got involved and I added happy little trees and shrubs, a bird bath, and finally a foundation around the entire piece. I used more wood skewers to poke into the sculpey to hold up the backdrop.


I painted the back of the backdrop to look like a wooden wall.  It kind of made me think of an old abandoned billboard in the middle of nowhere. 


This has got to be the cutest thing I have ever made.  We all know mini anything is forever a winner. Why do we love miniature things so much? I don't know. Does it make us feel like kids again? Maybe? 

All I know is I completely lost track of time every time I worked on this. It was so much fun, and I'm not even done!  Stay tuned!

♥
Thanks for visiting!

Friday, March 21, 2014

Women's Circle Traveling Journal

I follow this wonderful blog called Introverted Art, and when Ana mentioned she wanted to start a Women's Circle Traveling Journal, I just jumped on it without thinking. I've been wanting to break out my paints and do something creative, so I felt this was the perfect opportunity, especially since there were no rules. Anything goes. 

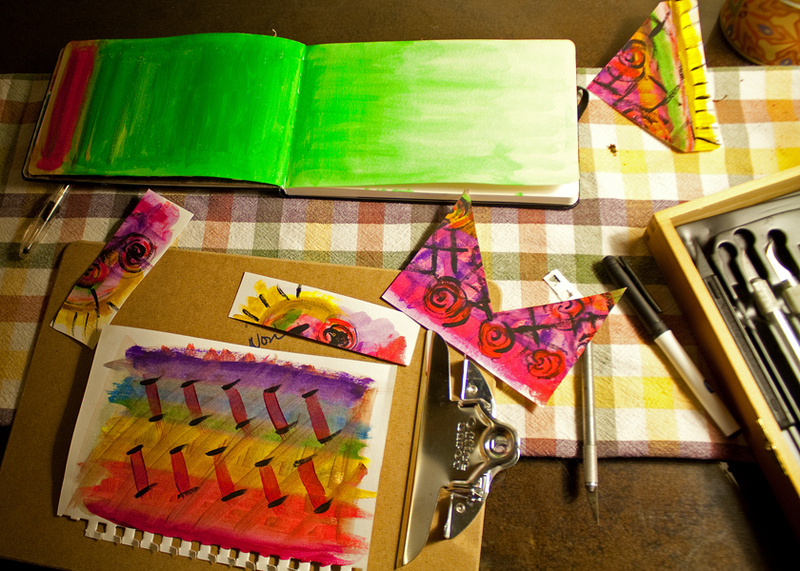
Once I received the traveling art journal, I had one week with it before I had to send it on to the next participant in the group. I was so stumped for ideas at first. I sketched a few things (in a lovely sketchbook my sister gave me a few Christmases ago). Then, I just decided to take the paints out, dip my brush in, and just paint. I just grabbed some color and started painting with no idea where it would lead. 

I always hear people say that all the time about art journaling. Don't think about. Just do it. Well, I didn't know how amazing it would be until I actually took that advice. I now know why people love doing them. It was so darn fun and relaxing, and it really does feel like a release of pent-up creativity.  

art journal painting via foobella.blogspot.com

I painted a few pages in my sketchbook of nothing in particular, just shapes and colors. (I even got my husband to play along. Love his sunset, which he first drew on his ipad and then translated it perfectly with paint.)

art journal painting via foobella.blogspot.com

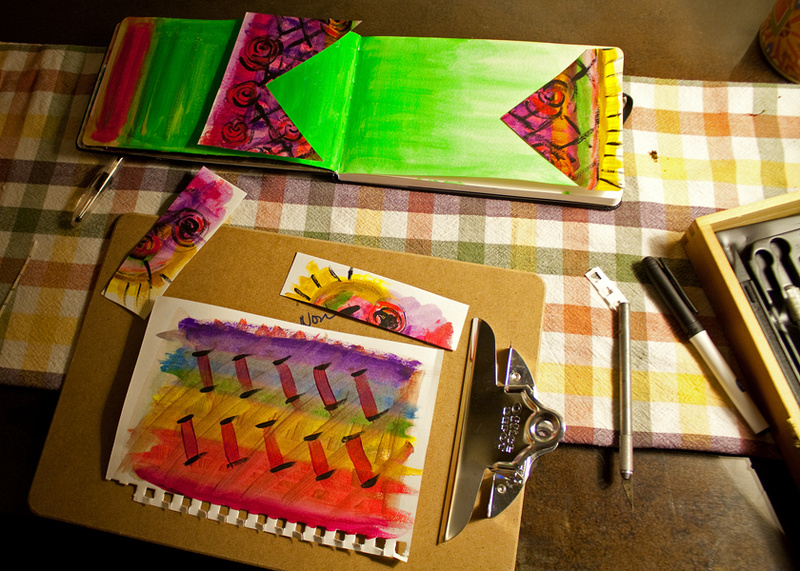
I let them dry overnight, and the next evening I opened the traveling journal and decided to take the same tact, and just start painting. I didn't go as crazy, because I wanted it to be a clear background. Then, I started cutting shapes out from one of the pages I painted the night before.

art journal painting via foobella.blogspot.com


art journal painting via foobella.blogspot.com

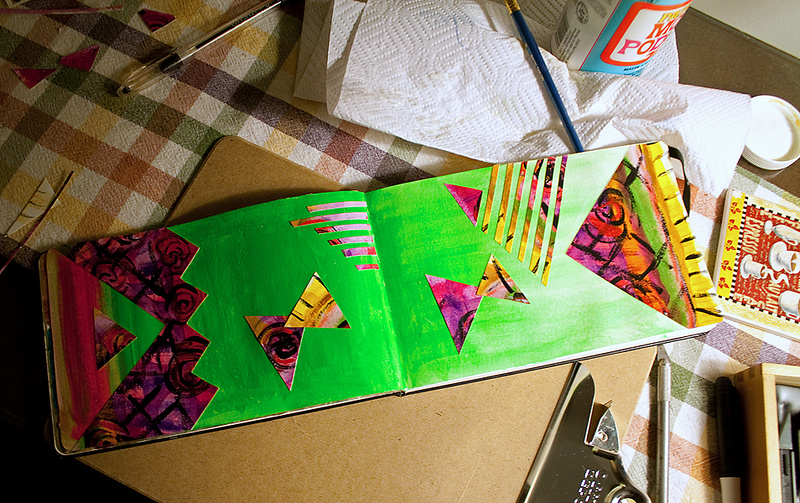
With still no plan, I just started gluing the pieces to my painted surface in the art journal. Is it just me or does it kind of remind you of the 1980's? Maybe I'm just reliving my childhood. 

art journal painting via foobella.blogspot.com


I let it dry another night and the next day I took some black paint and brushed along some of the edges of the cut out pieces just to give a little more depth to them. 

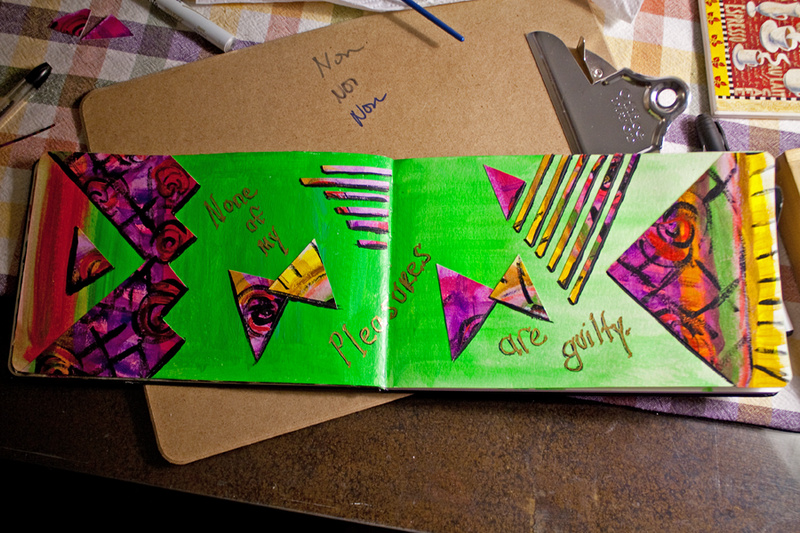
And the lettering. Oh my. This is where I really need to be more intentional; with my lettering. I love typography, so you'd think I could have done a better job. Next time I will try to be more creative with my lettering. 

art journal painting via foobella.blogspot.com

I mod-podged the entire surface to preserve it, and I let that dry overnight.

art journal painting via foobella.blogspot.com

"None of my pleasures are guilty". A quote by a non-famous person. Me. ha. It's my motto in life.

This was a great exercise and I hope to do more of this art journaling in my own sketchbook. It really was very fun, relaxing and such a creative release. 

A big "thank you" to Ana at Introverted Art for allowing me to join in this traveling art journal.

Here is a list of the other participants in this Women's Circle Traveling Art Journal:
  • Artful Fairy Tales
  • The Marmelade Gypsy
  • Goodness Recycled
  • Middle Girl
  • Ophelia's Art
  • Christina Jackson
  • Lovely Reveries
  • Kyra Wilson's Studio
  • She Who Seeks
  • Words & Blooms
  • Free Spirit Scribblings
  • A North End Journal
  • Magic Love Crow
  • Bichinhos na Cabeça
  • Art of Nadia
  • Castles Crowns Cottages
  • Tuesday, December 3, 2013

    Brushed Nickel Knobs On My Newly Painted Laminate Cabinets

    *


    I hope you had a nice Thanksgiving. Ours was full of great food and wonderful family and friends. 

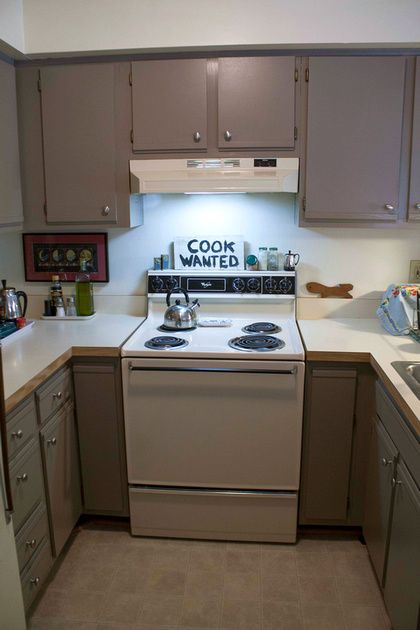
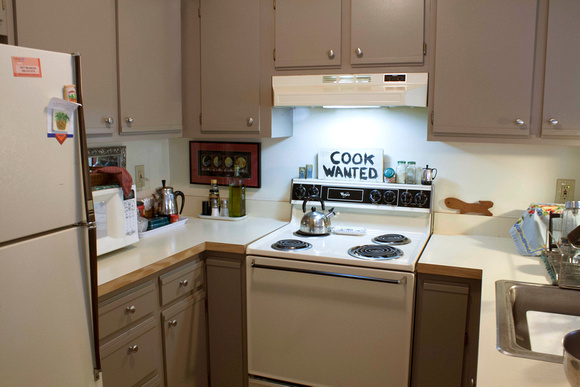
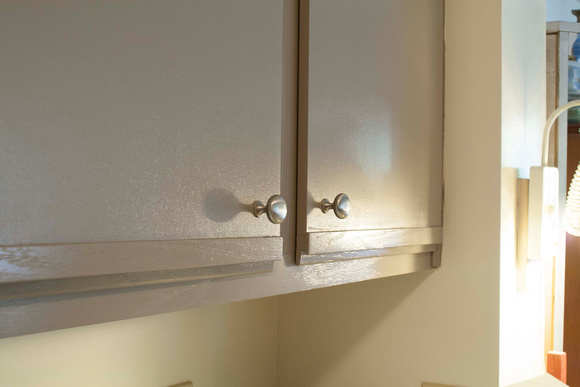
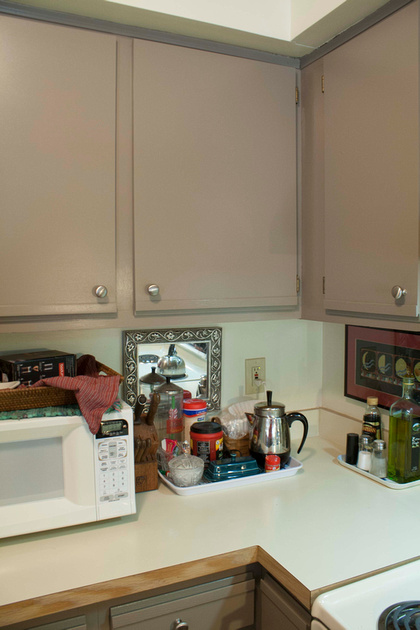
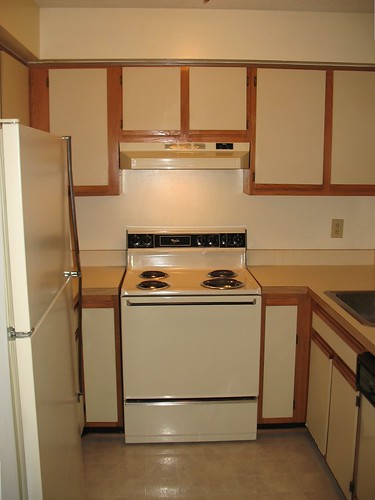
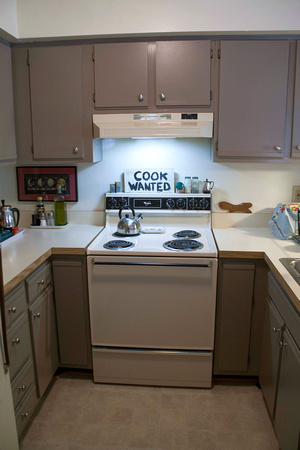
    Today I wanted to show you my painted laminate cabinets with their finishing touches, the brushed nickel knobs. And, wow, what a difference this makes. 
    (Read more info on the easiest painting process here.)

    painted laminate cabinets with brushed nickel knobs via foobella.blogspot.com

    painted laminate cabinets with brushed nickel knobs via foobella.blogspot.com

    I thought the cabinets looked great before, but this just brings everything up a level and really makes the kitchen look complete. Unfortunately, I could not put knobs on the two doors on either side of the stove because they need to open completely to allow the small drawers inside to be pulled out. 
    It really bothers me, but it is what it is. 

    painted laminate cabinets with brushed nickel knobs via foobella.blogspot.com

    painted laminate cabinets with brushed nickel knobs via foobella.blogspot.com


    Kitchen before and after. 

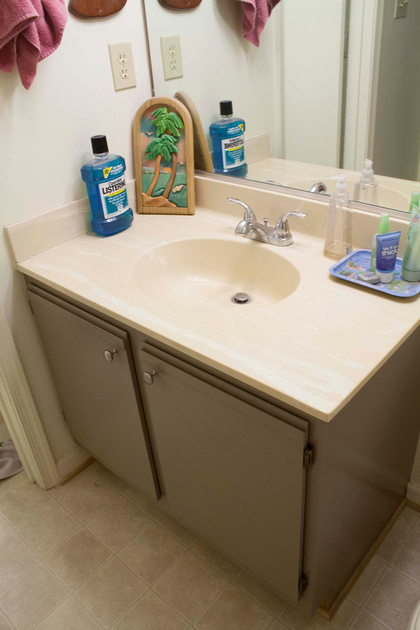
    bathroom laminate cabinets painted via foobella.blogspot.com

    We also painted both bathrooms with the same color as the kitchen (Eiffel Tower by Olympic) and installed the same brushed nickel knobs.

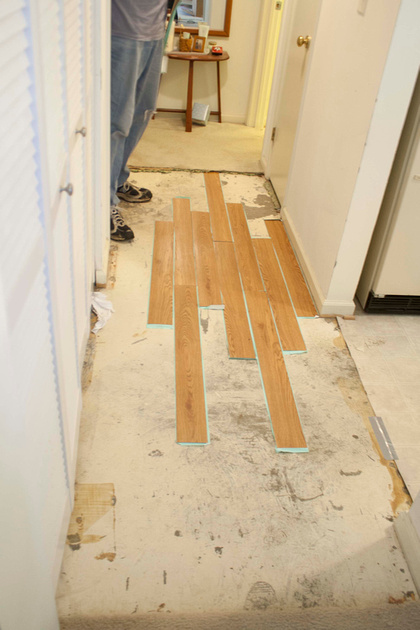
    peel and stick flooring redo via foobella.blogspot.com

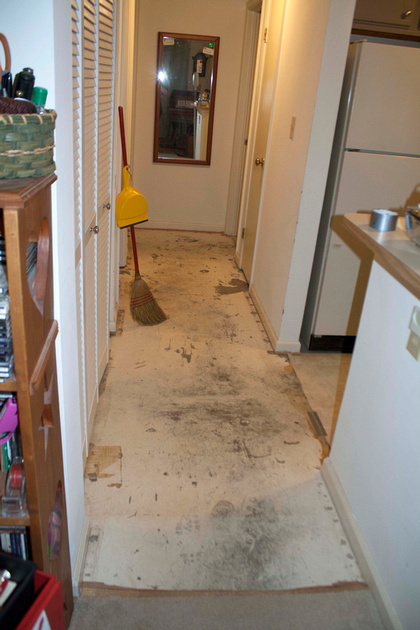
    And here is our next project. The hall floor. If you've followed me long enough you might remember a little incident with my water heater going kaput and water everywhere. 

    hallway redo via foobella.blogspot.com

    Of course, I learned after the fact, from my brother-in-law, that I really didn't need to pull up the carpet, and that it would have dried out just fine, but I'm glad I did anyway. This will be a nice little update to the condo.