Showing posts with label painting. Show all posts

Friday, November 16, 2018

3D Printing Backlog! My Husband is on a Printing Frenzy!

He's on a roll, but he needs to slow down! 
I have a line out the door of 3D prints waiting to be painted!

The website My Mini Factory has a category called Scan The World
"Scan the World is an ambitious initiative whose mission is to archive objects of cultural significance using 3D scanning technologies, producing an extensive platform of content suitable for 3D printing.
Through collecting scan data from the community and museums alike, Scan the World serves as a public effort to bring art to the masses in a way more tangible than ever before, all in the wider context of a meaningful contribution to education, preservation, and accessibility."

JC found this Scan The World 3D print design of a Julius Caesar sculpture on Thingiverse.com
which was modified into a pencil holder. 

3D Printed Julius Caesar pencil holder via foobella.blogspot.com

Et Tu Brute?

3D Printed Julius Caesar pencil holder via foobella.blogspot.com


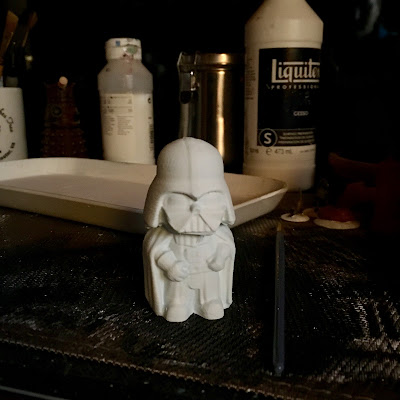
3D Darth Vader print. Come to the cute side? 
3D Printed cute Darth Vader via foobella.blogspot.com


Below are three 3D designs created for me by JC. 
A hedgehog, turtle, and armadillo. 
So cute. 
He was inspired by the originals he saw on the gift site, Uncommon Goods

3D Printed hedgehog via foobella.blogspot.com

3D Printed turtle and armadillo via foobella.blogspot.com

3D Printed turtle, armadillo and hedgehog via foobella.blogspot.com

3D Printed turtle, armadillo and hedgehog via foobella.blogspot.com

It's probably gonna be awhile before I can get to them. 
We are having Thanksgiving at our house again this year, 
so we'll be busy cleaning this weekend, 
and cooking and baking all next week. 

🦃

Thanks for visiting. 

Thursday, October 11, 2018

3D Halloween Printing Fun!

JC has been getting into the season of Halloween. 
He's dusted off the 3D printer and given me a lot of work to do painting things. 

These are magic pumpkins, before being painted. 
3D printed pumpkins via foobella.blogspot.com

See the magic? When you put a light inside, a jackolantern face glows.
3D printed pumpkin via foobella.blogspot.com

Below is a short video of a skeleton in the process of being printed.


 Pumpkins are all painted. Now to paint the skeleton votive holder. 
3D printed pumpkins and skeleton votive via foobella.blogspot.com

3D printed votive via foobella.blogspot.com

Looking spooky!
3D printed skeleton votive via foobella.blogspot.com

Below is a skull JC printed last year, which I just got around to painting. I did it in phases, and I just told him with this last shot, that this skull is getting scarier and scarier. I think that means I'm done with him. Pretty soon I won't be able to be in the same room with it.

3D printed skull and skeleton votive via foobella.blogspot.com

I think my favorite is the coffin and mummy. 
3D printed mummy and coffin via foobella.blogspot.com

I have yet to paint them.

3D printed mummy and coffin via foobella.blogspot.com

Next to a cap for scale. I love miniatures, maybe that's why this is my favorite. 

3D printed mummy and coffin via foobella.blogspot.com

 And here is one of the above pumpkins sitting on top of a lamp to demonstrate the glowing. There was a blip in the printing process, that is why you see the line through his noggin. 
3D printed glowing pumpkin via foobella.blogspot.com

Thanks for visiting!
💀

{All the 3D printing designs were found on www.thingiverse.com}

foobella.blogspot.com


Wednesday, January 25, 2017

3D Printed and Painted Millennium Falcon

I've been moving things around and creating a painting/crafting nook for myself. I just painted a whole bunch of things yesterday and wanted to share one today.

Yesterday, every time I finished painting something, I would send a picture to Jason. He wrote back, "Good job. Now do the Millennium Falcon." and then I would send another picture, and the same thing, "Cool! Do the Millennium Falcon. NOW." ha. 

All right. All right! ha. 

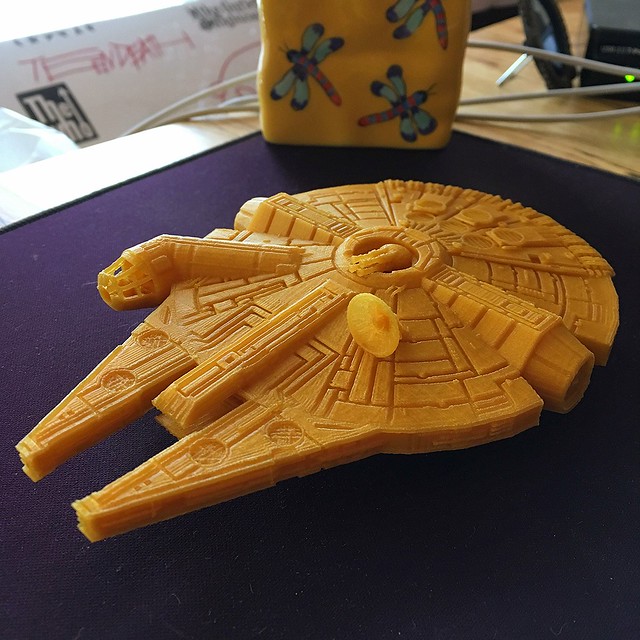
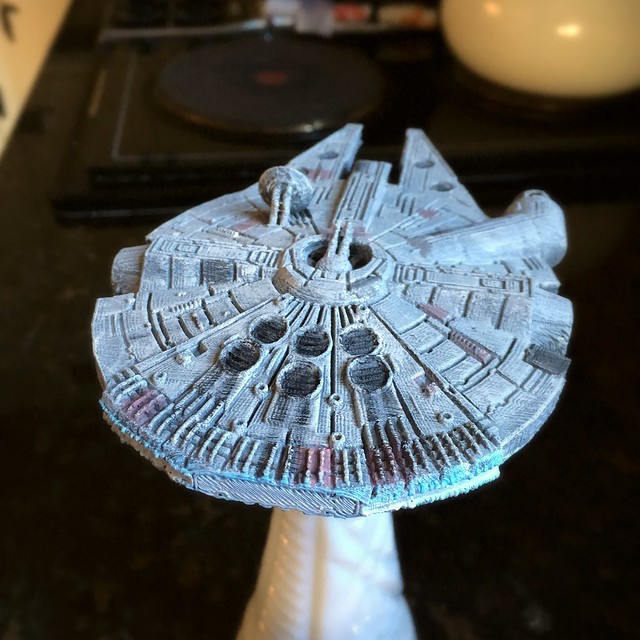
Here it is before painting↓
Untitled
3D digital file of Millennium Falcon found on Thingiverse

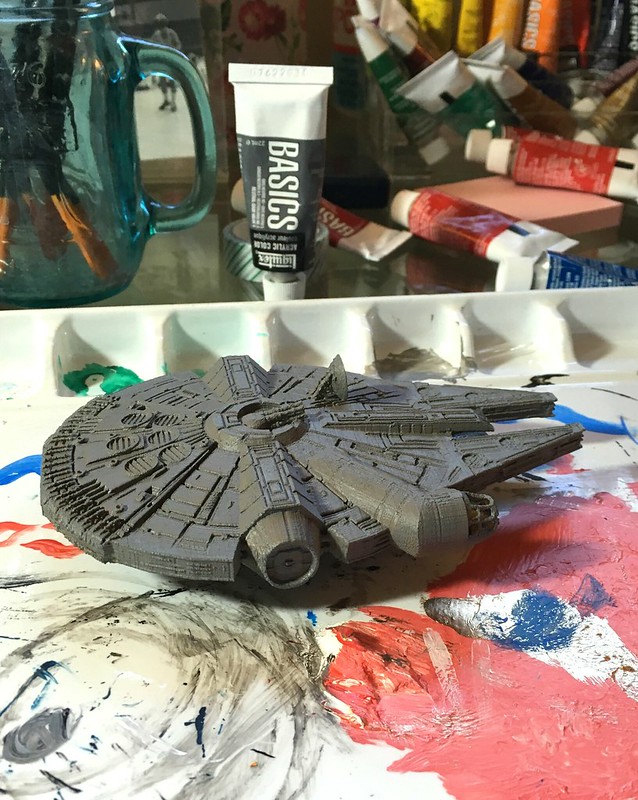
First paint layer↓
Untitled


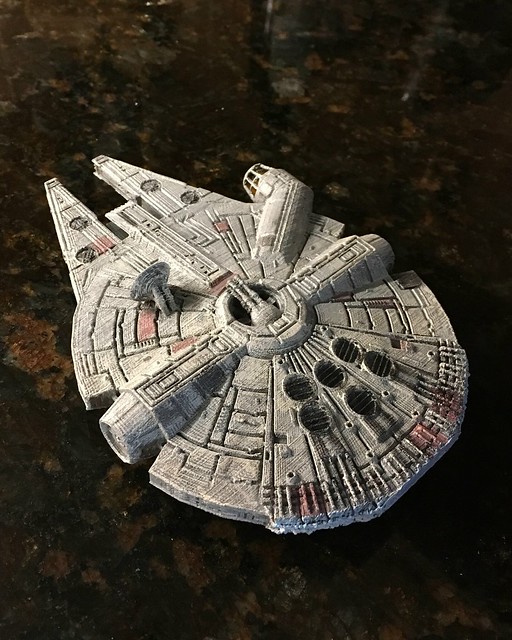
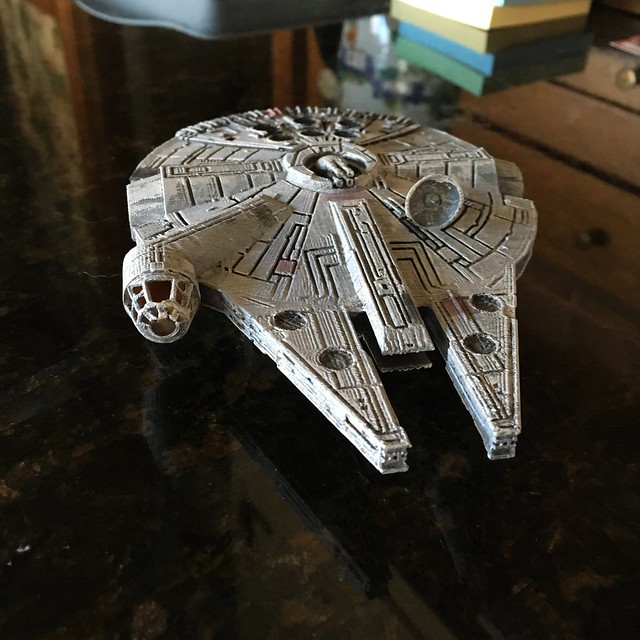
Finished!↓
Untitled

The person who created this 3D design took artistic license with the Millennium Falcon, so I had to also in the painting details.
Untitled

Untitled


I'll have more painted 3D objects to show you soon. 

👽

Thanks for visiting!

Thursday, January 12, 2017

3D Printed Gadgets and Tools

I showed you a cute 3D printed camera magnet in my previous post. Today I will show you a couple things Jason made that show the utility of having a 3D printer. Although, admittedly, one print was for the 3D printer, and the 2nd was for wares made with the 3D printer. ha.

When he assembled his printer, Jason found that the spool holder--the thing that holds the filament reel atop the printer--was not wide enough, which is strange, since the filament reel I bought was suggested to go with this printer.  

No problem, though. Jason went to Thingiverse.com and found someone who designed their own spool holder. So, our first utilitarian 3D print was born. 

See the gold peeking out from the middle of the filament reel in this photo from my previous post? That's our print that came from this digital file created by Thingiverse.com member ghostpoisonface
3D printed camera via foobella.blogspot.com


Here is what a digital file looks like. ↓
3D design via www.thingiverse.com/thing:1782317 blogged on foobella.blogspot.com
image via http://www.thingiverse.com/thing:1782317

The image below shows supports attached to the object, which will be removed once the object is created. 
3D design via www.thingiverse.com/thing:1782317 blogged on foobella.blogspot.com
image via http://www.thingiverse.com/thing:1782317

Here you see a comparison between our print (gold) and the spool holder that came with the printer. Big difference.  

3D printed Spool Extender via foobella.blogspot.com


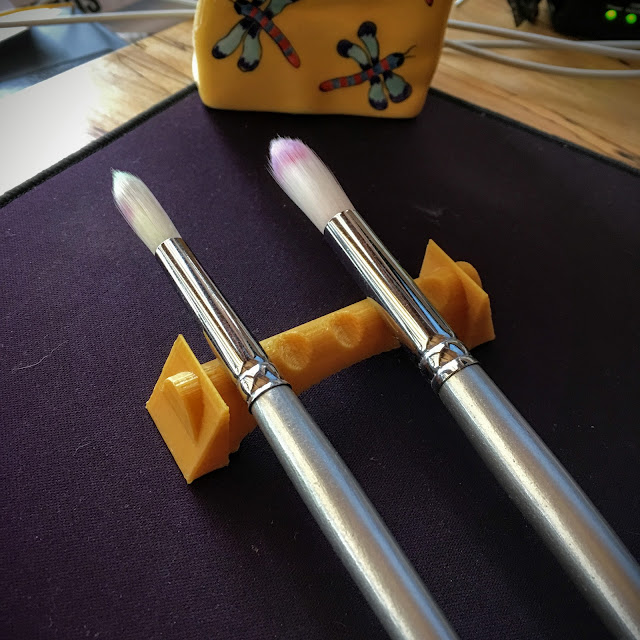
The second tool he printed also happens to be Jason's first design using the free program Tinkercad.com. Do you know what it is? ↓

3D printed Paint Brush Rest via foobella.blogspot.com

Maybe this will help. 

3D printed Paint Brush Rest via foobella.blogspot.com

After my first session painting some of his prints, I told Jason he should make a paint brush rest for me. In the blink of an eye, it seems, there it was! I love this printer!! And of course, Jason's design skillz. 😎

For anyone interested in printing a brush rest of their own, here is the link to Jason's design: 

═══════════

Oh, and because I forgot to include it in my last post, here is what was printing in my post from Monday. Though, who am I kidding? Everyone knows what this is, even if they are not Star Wars fans. ↓
3D printed Millennium Falcon via foobella.blogspot.com
Millennium Falcon printed from digital file via http://www.thingiverse.com/thing:919475

Yes, I still have to paint it. sigh. Thank goodness I have that paint brush rest. 

My mind is awhirl with printing ideas now. Stay tuned for more prints. This is fun!

🙋

Thanks for visiting. 

Friday, March 21, 2014

Women's Circle Traveling Journal

I follow this wonderful blog called Introverted Art, and when Ana mentioned she wanted to start a Women's Circle Traveling Journal, I just jumped on it without thinking. I've been wanting to break out my paints and do something creative, so I felt this was the perfect opportunity, especially since there were no rules. Anything goes. 

Once I received the traveling art journal, I had one week with it before I had to send it on to the next participant in the group. I was so stumped for ideas at first. I sketched a few things (in a lovely sketchbook my sister gave me a few Christmases ago). Then, I just decided to take the paints out, dip my brush in, and just paint. I just grabbed some color and started painting with no idea where it would lead. 

I always hear people say that all the time about art journaling. Don't think about. Just do it. Well, I didn't know how amazing it would be until I actually took that advice. I now know why people love doing them. It was so darn fun and relaxing, and it really does feel like a release of pent-up creativity.  

art journal painting via foobella.blogspot.com

I painted a few pages in my sketchbook of nothing in particular, just shapes and colors. (I even got my husband to play along. Love his sunset, which he first drew on his ipad and then translated it perfectly with paint.)

art journal painting via foobella.blogspot.com

I let them dry overnight, and the next evening I opened the traveling journal and decided to take the same tact, and just start painting. I didn't go as crazy, because I wanted it to be a clear background. Then, I started cutting shapes out from one of the pages I painted the night before.

art journal painting via foobella.blogspot.com


art journal painting via foobella.blogspot.com

With still no plan, I just started gluing the pieces to my painted surface in the art journal. Is it just me or does it kind of remind you of the 1980's? Maybe I'm just reliving my childhood. 

art journal painting via foobella.blogspot.com


I let it dry another night and the next day I took some black paint and brushed along some of the edges of the cut out pieces just to give a little more depth to them. 

And the lettering. Oh my. This is where I really need to be more intentional; with my lettering. I love typography, so you'd think I could have done a better job. Next time I will try to be more creative with my lettering. 

art journal painting via foobella.blogspot.com

I mod-podged the entire surface to preserve it, and I let that dry overnight.

art journal painting via foobella.blogspot.com

"None of my pleasures are guilty". A quote by a non-famous person. Me. ha. It's my motto in life.

This was a great exercise and I hope to do more of this art journaling in my own sketchbook. It really was very fun, relaxing and such a creative release. 

A big "thank you" to Ana at Introverted Art for allowing me to join in this traveling art journal.

Here is a list of the other participants in this Women's Circle Traveling Art Journal:
  • Artful Fairy Tales
  • The Marmelade Gypsy
  • Goodness Recycled
  • Middle Girl
  • Ophelia's Art
  • Christina Jackson
  • Lovely Reveries
  • Kyra Wilson's Studio
  • She Who Seeks
  • Words & Blooms
  • Free Spirit Scribblings
  • A North End Journal
  • Magic Love Crow
  • Bichinhos na Cabeça
  • Art of Nadia
  • Castles Crowns Cottages
  • Tuesday, November 5, 2013

    Painting Laminate Kitchen Cabinets. Done!

    *

    We did it! We finished painting the kitchen cabinets and it looks great.

    painted kitchen cabinets

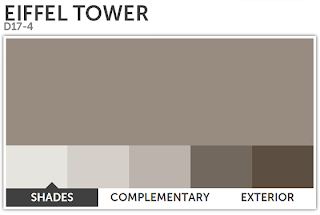
    The color is Eiffel Tower by Olympic.
    Read more about the process here.

    Remember what we started with 
    painted laminate kitchen cabinets


    and in progress 
    painting kitchen cabinets

    and now 
    painted kitchen cabinets


    painted kitchen cabinets

    painted kitchen cabinets
    painted kitchen cabinets 

    Next up. Install the door knobs, and then onto the next project. The hall floor. 

    (Update: see the completed cabinets with knobs here. )

    Tuesday, October 29, 2013

    The Easiest Way To Paint Laminate Kitchen Cabinets

    *
    (Update: see the completely finished cabinets here. Continue reading below for our process and products used.) 

    We are finally getting around to fixing up what needs to be fixed up in my condo, starting with the kitchen cabinets.

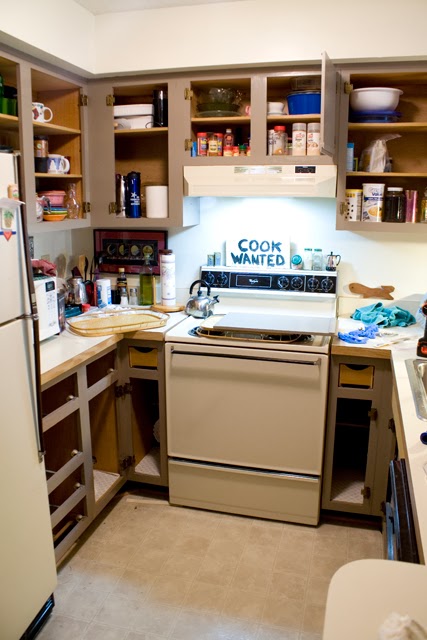
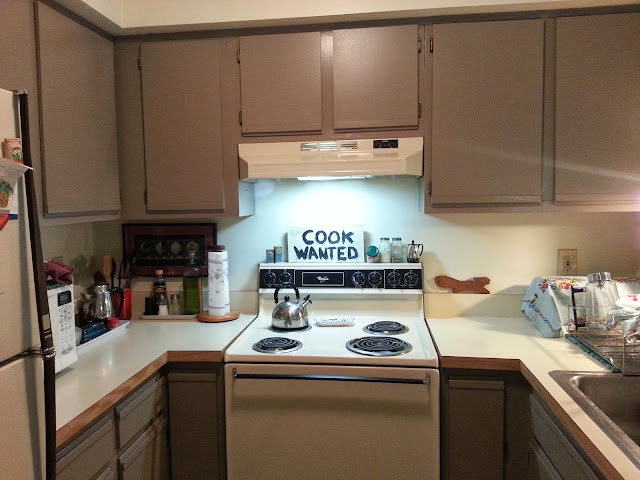
    Painting Laminate Kitchen Cabinets Before via foobella.blogspot.com

    When I first moved into my condo a few years ago, this is what the kitchen looked like (above). Laminate cabinet doors with solid wood "handles". No knobs or pulls. I hate them, as do probably most people. 

    laminate kitchen cabinets

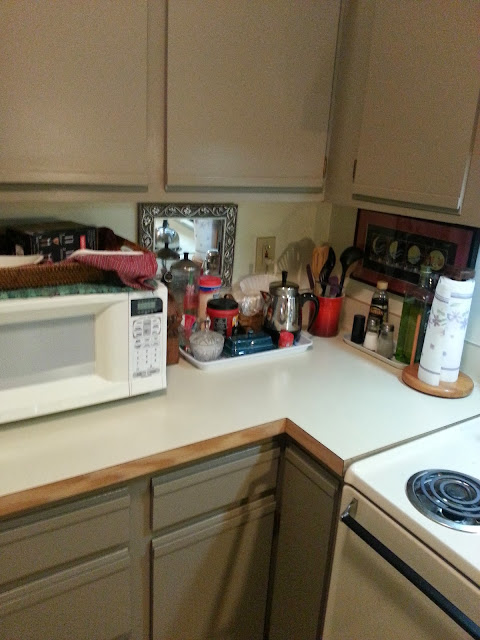
    The first thing I did when I moved in was to tear off the laminate surface, which is just a thin layer of off-white plastic. I hinted about it here. I would rather look at the particle board surface than the white laminate doors on wood cabinet bases. And I lived with that for far too long. 


    painting laminate kitchen cabinets

    This is what we did this weekend. We took down all the doors and started painting the cabinets, and I am kicking myself for not doing it sooner. It is so much easier than I thought. Well, Jason may not feel that way, but I do.


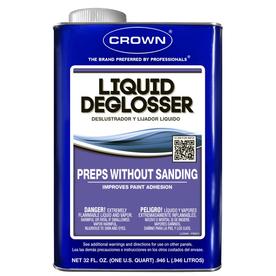
    I dreaded the idea of sanding the cabinets, so instead, we bought some liquid deglosser from Lowe's and I just wiped it on the cabinet bases and then wiped it off with a damp cloth. So easy, and no worries about removing everything from in the cabinets and getting dust all over the place.  This product takes the shine off the surface so the paint will adhere. Jason started sanding all the doors outside. Since they had the laminate on top of them, which I had peeled off, they had a texture from the adhesive, otherwise, we would have used the deglosser on the doors as well. 


    I waited about 30 minutes after deglossing, and then I painted my first coat of Olympic self-priming semi-gloss paint in Eiffel Tower. Jason says "it's gray" and blah, but I love it, and it was the second paint chip I looked at. I liked it, and that was that. I wasn't about to waste time looking at colors, hemming and hawing. It's nice and neutral, yet warm.


    painting laminate kitchen cabinets


    painting laminate kitchen cabinets

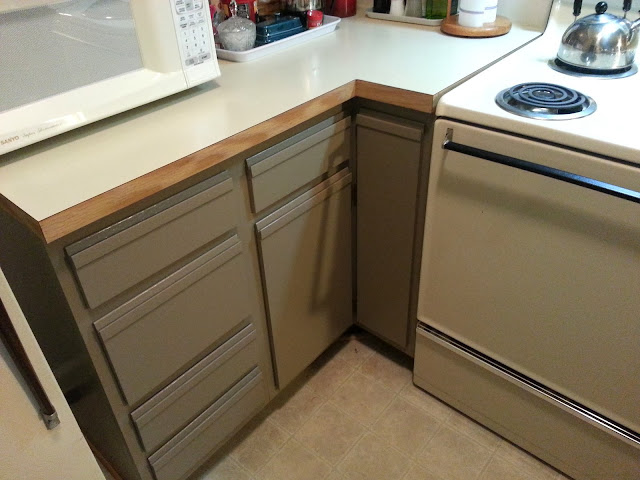
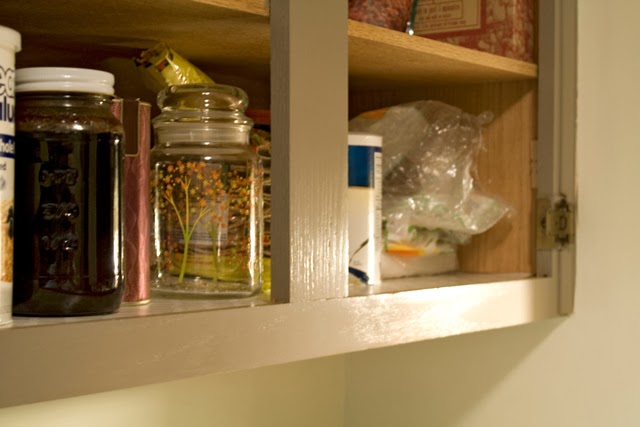
    You can see from the false drawer front under the sink what the particle board fronts looked like without the plastic laminate. Jason has yet to sand this board, that's why it is not yet painted.

    painting laminate kitchen cabinets

    You can see the "handle" of the door to the right in the picture above. I actually bought some brushed silver knobs to add to all the doors and drawers because I so dislike those "handles".  This is not my ideal upgrade. I'd love to replace the doors completely, but we are going for the least expensive fix with the most impact, and paint it is. I have no doubt it will look 100% better than before, so I am not sweating it. (Yep, I still have a tube TV. And I have a record player and cassette player, too. What can I say? I'm a child of the 80's and I just can't part with any of them.)

    painting laminate kitchen cabinets

    I painted the first coat on the upper cabinets Saturday and the second coat Sunday. The bottom cabinets so far only have one coat. I think the trick is to let it dry completely overnight. I know people get antsy (as I usually do) to wait a short while and then put on the second coat the same day, but I think waiting overnight, at the very least, really helps it to adhere to the surface.  
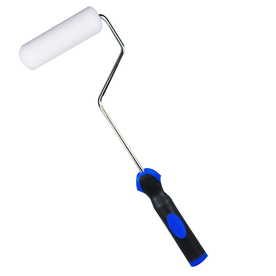


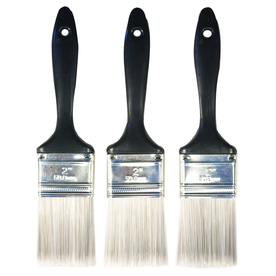
    Also, I found that using a brush on the cabinet bases worked best, while Jason used a small foam roller for the doors. We used the cheapest we could find and it worked well for us.

    For the smallest spaces and to get the inside edges of the cabinet bases, I used a small flat artist brush.

    painting laminate kitchen cabinets

    Jason put one door back up so we could get an idea of how it will look. Not bad. I can't wait to get them all done and put the new knobs on. We are also using this color in both bathrooms, which have one coat of paint so far. Jason sanded and painted all the doors. So, just one more coat on the bottom kitchen cabinets, bathroom cabinets, and all the doors. Then, attach the knobs and on to the next project; the kitchen and hall floors.  
    Painting Laminate Kitchen Cabinets Before via foobella.blogspot.com

    I must say, getting started on a project like this is the hardest part. Once you get going, the momentum just carries you along, and I found I actually enjoyed it. A lot. I found it very relaxing, and I was excited to get back the next day to continue painting.  At least that's the way I feel. Jason might have another opinion. ;)

    Of course, I'll be back with more pictures when it's done. 

    (Update: see the completely finished cabinets here.)