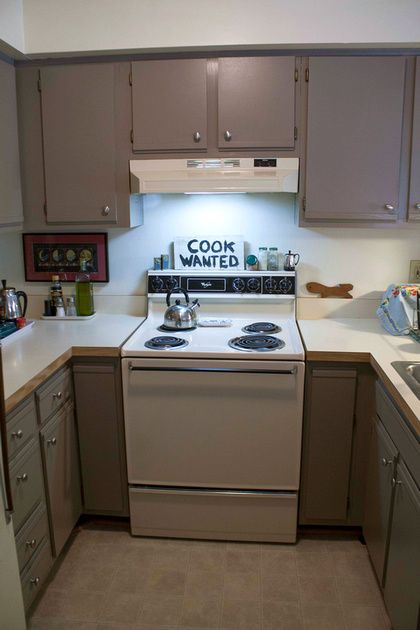
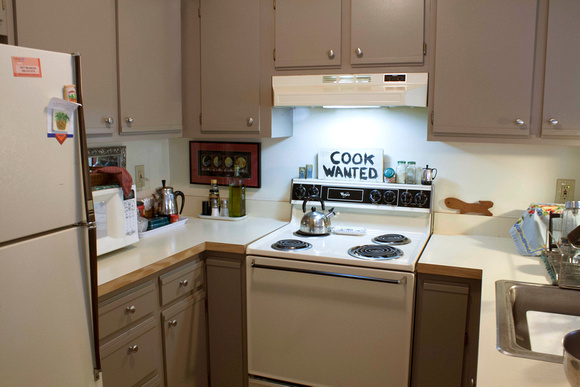
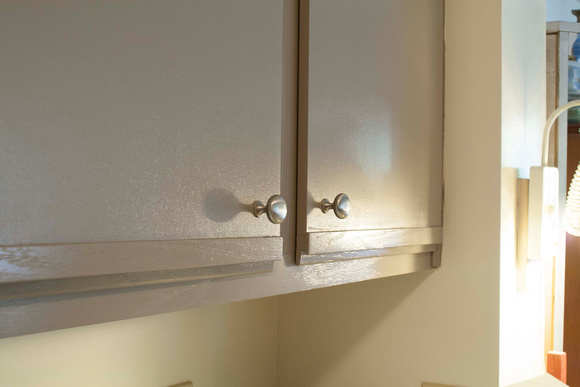
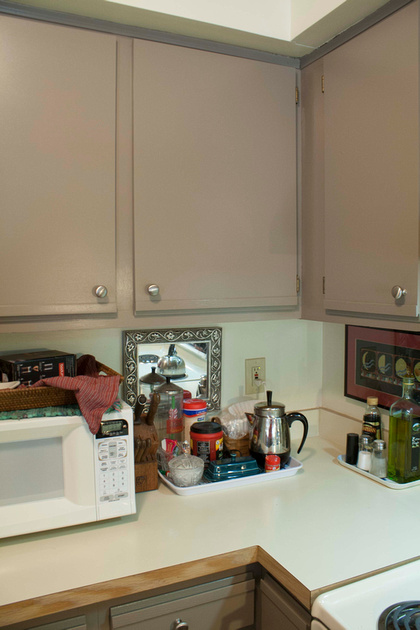
We do it up right.
Friday, February 14, 2014
Thursday, February 6, 2014
Easiest and Best Roasted Tomato Sauce
Every Wednesday night is pasta night in our house. We've followed a few different recipes, with one of our favorites being Lidia Bastianich's very simple and tasty marinara sauce. Recently, though, my husband found another recipe for roasted tomato sauce, which has moved to the top of our list. Sorry Lidia. We still love you.
Jason thinks he found the recipe on epicurious if that helps anyone who wants to find the original. But I am going to lay it out here for you in the way I was taught (just yesterday) to cook it, by Jason via google chat. Meaning, he was getting ready to make his way home from work yesterday and asked me to get the sauce started. So, he gave me the directions in a chat.
Now, I'm not a bad cook, but I'm not Jason. 1) I don't really enjoy cooking, probably because 2) I can't do more than one thing at a time in the kitchen like he can. So, we've agreed that he is the cook, and I am his helper and cleaner-upper. Though he is a great cook, he is also messy, so I'm not let off the hook that easy.
Jason's Roasted Tomato Sauce:
Ingredients:
1 35 oz can peeled plum tomatoes
pinch of red pepper flakes to taste (some like it hot, be careful)
6-8 crushed garlic cloves
4 tablespoons butter (1/2 stick)
1/2 tablespoon oregano or Italian seasoning
9 x 13 glass casserole dish
immersion blender, optional
Optional variations:
fresh or crushed basil, or basil paste
red wine
ground beef, seasoned to your tastes
ground turkey, seasoned to your tastes
Italian sausage
peeled, uncooked shrimp
Directions, given via gchat:
Jason
dump the can of tomatoes into the large glass
casserole dish
sprinkle in a good sized pinch of red pepper
flakes
me
oh no. do I have to blend them?
(I don't get along well with immersion blenders.)
Jason
no
me
whew
Jason
just use a fork to kinda cut/lightly mash them
after you dump them in
(I actually used an old potato masher to just squish them up a bit.)
me
k
Jason
crush 6-8 cloves of garlic...no need to chop
them
put them in w/ the tomatoes and pepper flakes
distribute 1/2 stick of butter w/ the tomatoes
give a sprinkle of the Italian seasoning
cook at 375º until I take it out and mix w/ the browned
ground turkey (which I will cook when I get home)
me
ok
Jason
you can give it a little stir after 30 min or
so
me
ok
Jason
it's pretty easy
Yes, I am here to tell you that it is the
easiest and best tomato sauce, and the fact that it is roasted in the oven
probably has a lot to do with its wonderfulness. Oh, and the butter. Though, if
you don't want to use butter, I'm sure it will be just as good.
Additional directions:
When
Jason got home, the sauce had been cooking for about 30 minutes or more. He
then took it out of the oven and used an immersion blender to break up the
tomatoes a bit more. Not necessary, though. You can have them as chunky or as
blended as you like. He then added about a tablespoon of basil paste to the
sauce. He browned some ground turkey and then deglazed that pan with red wine
and added the sauce to the pan.
We also change it up each week by using
ground beef, ground turkey, shrimp, or my favorite, Italian Sausage. If you use
shrimp you will put the peeled, uncooked shrimp in the sauce about 4 minutes
before your pasta is done. Or, you don't have to use meat at all. It's a great
marinara sauce as well.
Cooking the pasta:
A
very important step we learned from watching the amazing chef, JacquesPépin, is to cook your pasta
in salted water until al dente and not to drain it. Rather, scoop the
pasta out of the water and into the sauce to let it finish cooking for a
couple minutes. If needed, you can scoop a bit of the salted pasta water into
the sauce.
Enjoy!
Wednesday, January 1, 2014
Happy New Year 2014
Happy New Year to you. I never make resolutions anymore, but sometimes in the back of my mind I might. I am kind of more laid back in my approach to the coming years. I just want to be happy and healthy, and for my family and friends to be happy and healthy.
I'm pretty easy to please in that regard.
Ok, that's not all true. I'd like to craft more, clean more, garden more, and lose a ton of weight.
There. We'll see how it goes.
I hope everyone has a happy and healthy 2014, and that we can all stick to our resolutions.
| made with paper by 53 |
Tuesday, December 24, 2013
Christmas Delights 2013
Here is a little Christmas cheer that is going on around our house.
Jason decorated Gingerbread house. I approved. =)
I spy a little village peeking in the mirror.
This year's Dickens Christmas Village setup.
Jason made a starry night sky background that I am in love with.
I love our tree, but I felt like something was missing. Something from my childhood.
Then it hit me. Tinsel! I love tinsel.
Tinsel. Everywhere.
I know I'm probably in the minority these days on the tinsel, but then I also love the big old fashioned colored lights on my tree, too.
A sweet little Christmas handkerchief my sister included in her homemade Christmas card.
I love poinsettias, and Jason found some at Lowe's last week for 0.62 cent a piece.
There is nothing better than the smell of pumpkin pie.
I don't even mind the cleanup. As long as Jason is doing the baking. =)
I hope everyone has a wonderful and peaceful Christmas this year.
For those going through hard times, be it health, family, money; I pray for better times for you and yours.
Tuesday, December 3, 2013
Brushed Nickel Knobs On My Newly Painted Laminate Cabinets
*
I hope you had a nice Thanksgiving. Ours was full of great food and wonderful family and friends.
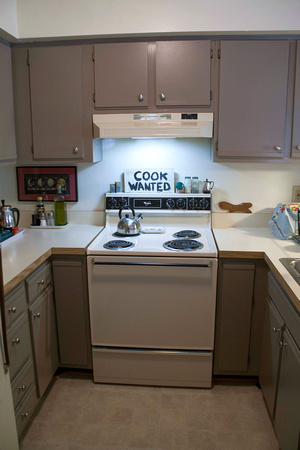
Today I wanted to show you my painted laminate cabinets with their finishing touches, the brushed nickel knobs. And, wow, what a difference this makes.
(Read more info on the easiest painting process here.)
I thought the cabinets looked great before, but this just brings everything up a level and really makes the kitchen look complete. Unfortunately, I could not put knobs on the two doors on either side of the stove because they need to open completely to allow the small drawers inside to be pulled out.
It really bothers me, but it is what it is.
Kitchen before and after.
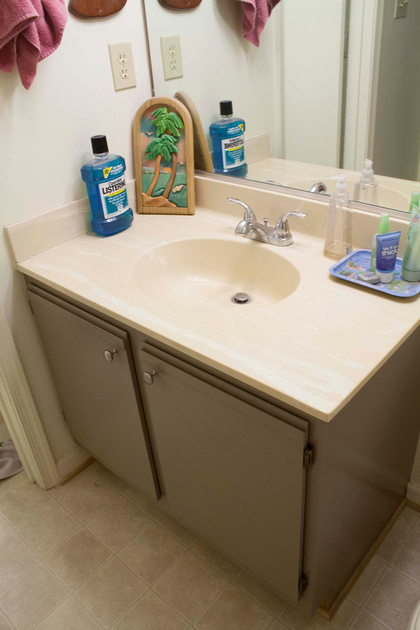
We also painted both bathrooms with the same color as the kitchen (Eiffel Tower by Olympic) and installed the same brushed nickel knobs.
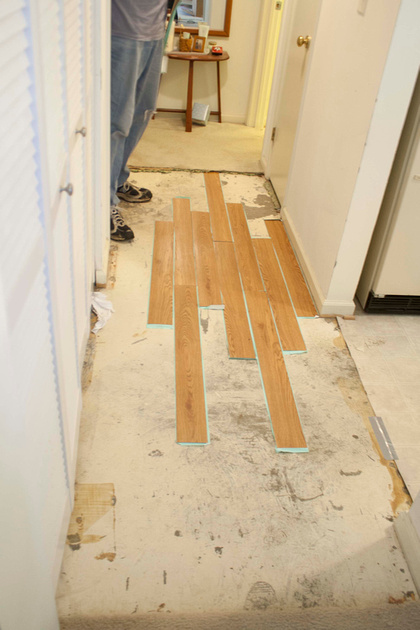
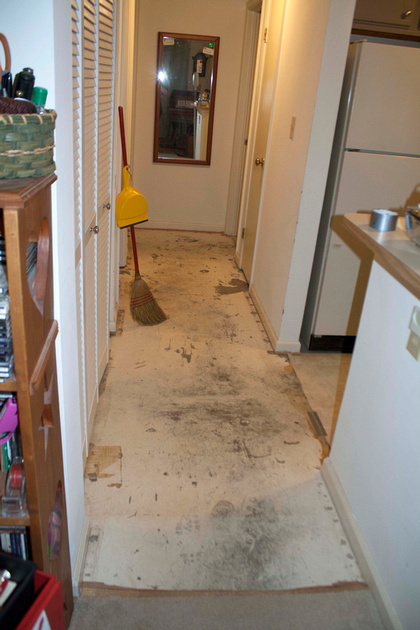
And here is our next project. The hall floor. If you've followed me long enough you might remember a little incident with my water heater going kaput and water everywhere.
Of course, I learned after the fact, from my brother-in-law, that I really didn't need to pull up the carpet, and that it would have dried out just fine, but I'm glad I did anyway. This will be a nice little update to the condo.
Thursday, November 28, 2013
Tuesday, November 5, 2013
Painting Laminate Kitchen Cabinets. Done!
*
We did it! We finished painting the kitchen cabinets and it looks great.

The color is Eiffel Tower by Olympic.
Read more about the process here.
Remember what we started with ↓
and now ↓
We did it! We finished painting the kitchen cabinets and it looks great.

The color is Eiffel Tower by Olympic.
Read more about the process here.
Remember what we started with ↓
and in progress ↓
and now ↓
Next up. Install the door knobs, and then onto the next project. The hall floor.
(Update: see the completed cabinets with knobs here. )
Thursday, October 31, 2013
Happy Halloween 2013 and a Spooky Story by Emily Carroll

Just a little spooky fun with photoshop using only the tools available within the program.
I miss decorating for, and scaring the trick-or-treaters.
We don't get any here in the sticks, so I don't do much for the occasion.
Though, I do have some candy just in case the few kids in the neighborhood come by.

I also wanted to share a web comic with you from the amazingly talented Emily Carroll, called Out of Skin.
I love everything she creates. Her illustrations are amazing, as is her storytelling. Click the image below to read the story. It's wonderfully dark and gruesome, and a perfect Halloween treat.
A safe and Happy Halloween night to you.
Tuesday, October 29, 2013
The Easiest Way To Paint Laminate Kitchen Cabinets
*
(Update: see the completely finished cabinets here. Continue reading below for our process and products used.)
We are finally getting around to fixing up what needs to be fixed up in my condo, starting with the kitchen cabinets.
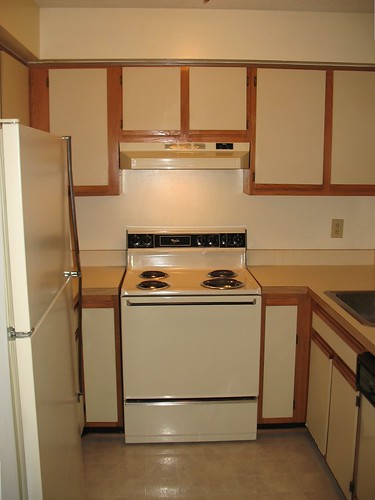
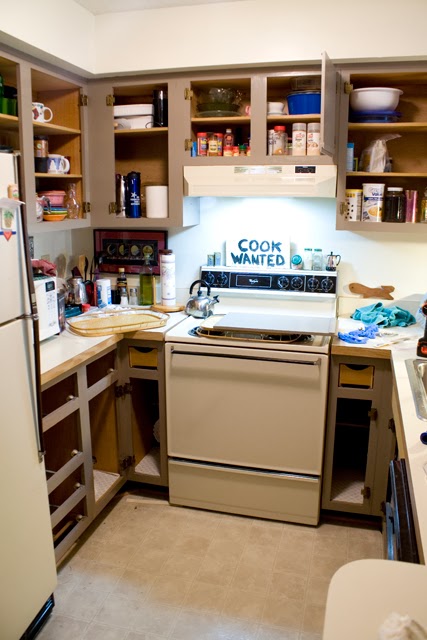
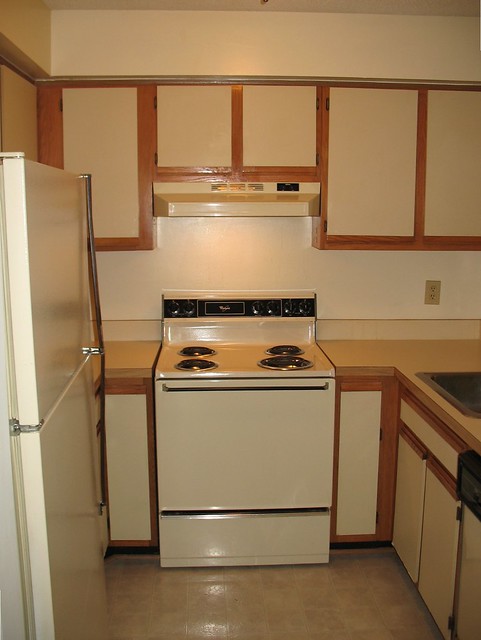
When I first moved into my condo a few years ago, this is what the kitchen looked like (above). Laminate cabinet doors with solid wood "handles". No knobs or pulls. I hate them, as do probably most people.
The first thing I did when I moved in was to tear off the laminate surface, which is just a thin layer of off-white plastic. I hinted about it here. I would rather look at the particle board surface than the white laminate doors on wood cabinet bases. And I lived with that for far too long.
This is what we did this weekend. We took down all the doors and started painting the cabinets, and I am kicking myself for not doing it sooner. It is so much easier than I thought. Well, Jason may not feel that way, but I do.
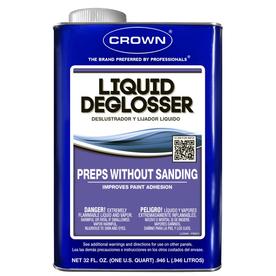
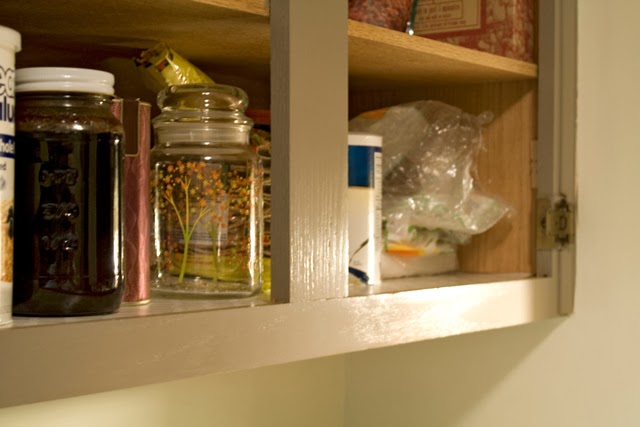
I dreaded the idea of sanding the cabinets, so instead, we bought some liquid deglosser from Lowe's and I just wiped it on the cabinet bases and then wiped it off with a damp cloth. So easy, and no worries about removing everything from in the cabinets and getting dust all over the place. This product takes the shine off the surface so the paint will adhere. Jason started sanding all the doors outside. Since they had the laminate on top of them, which I had peeled off, they had a texture from the adhesive, otherwise, we would have used the deglosser on the doors as well.
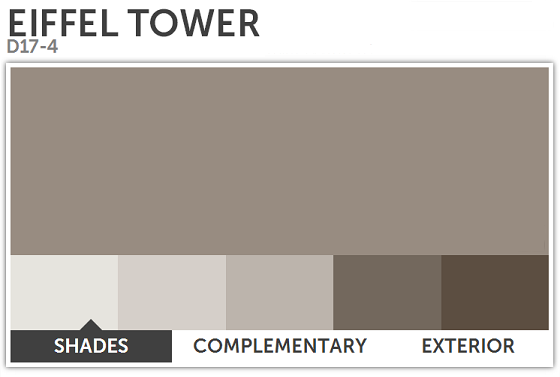
I waited about 30 minutes after deglossing, and then I painted my first coat of Olympic self-priming semi-gloss paint in Eiffel Tower. Jason says "it's gray" and blah, but I love it, and it was the second paint chip I looked at. I liked it, and that was that. I wasn't about to waste time looking at colors, hemming and hawing. It's nice and neutral, yet warm.
You can see from the false drawer front under the sink what the particle board fronts looked like without the plastic laminate. Jason has yet to sand this board, that's why it is not yet painted.
You can see the "handle" of the door to the right in the picture above. I actually bought some brushed silver knobs to add to all the doors and drawers because I so dislike those "handles". This is not my ideal upgrade. I'd love to replace the doors completely, but we are going for the least expensive fix with the most impact, and paint it is. I have no doubt it will look 100% better than before, so I am not sweating it. (Yep, I still have a tube TV. And I have a record player and cassette player, too. What can I say? I'm a child of the 80's and I just can't part with any of them.)
I painted the first coat on the upper cabinets Saturday and the second coat Sunday. The bottom cabinets so far only have one coat. I think the trick is to let it dry completely overnight. I know people get antsy (as I usually do) to wait a short while and then put on the second coat the same day, but I think waiting overnight, at the very least, really helps it to adhere to the surface.

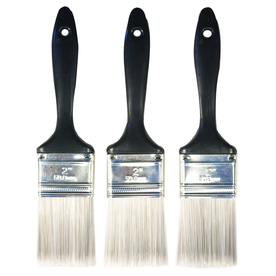
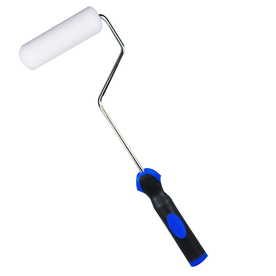
Also, I found that using a brush on the cabinet bases worked best, while Jason used a small foam roller for the doors. We used the cheapest we could find and it worked well for us.
![]() |
| For the smallest spaces and to get the inside edges of the cabinet bases, I used a small flat artist brush. |
Jason put one door back up so we could get an idea of how it will look. Not bad. I can't wait to get them all done and put the new knobs on. We are also using this color in both bathrooms, which have one coat of paint so far. Jason sanded and painted all the doors. So, just one more coat on the bottom kitchen cabinets, bathroom cabinets, and all the doors. Then, attach the knobs and on to the next project; the kitchen and hall floors.
I must say, getting started on a project like this is the hardest part. Once you get going, the momentum just carries you along, and I found I actually enjoyed it. A lot. I found it very relaxing, and I was excited to get back the next day to continue painting. At least that's the way I feel. Jason might have another opinion. ;)
Of course, I'll be back with more pictures when it's done.
Subscribe to:
Posts (Atom)